2018-2019 DEMO REEL
Ruixuan Pu | Lighting, Texturing, and Look Development
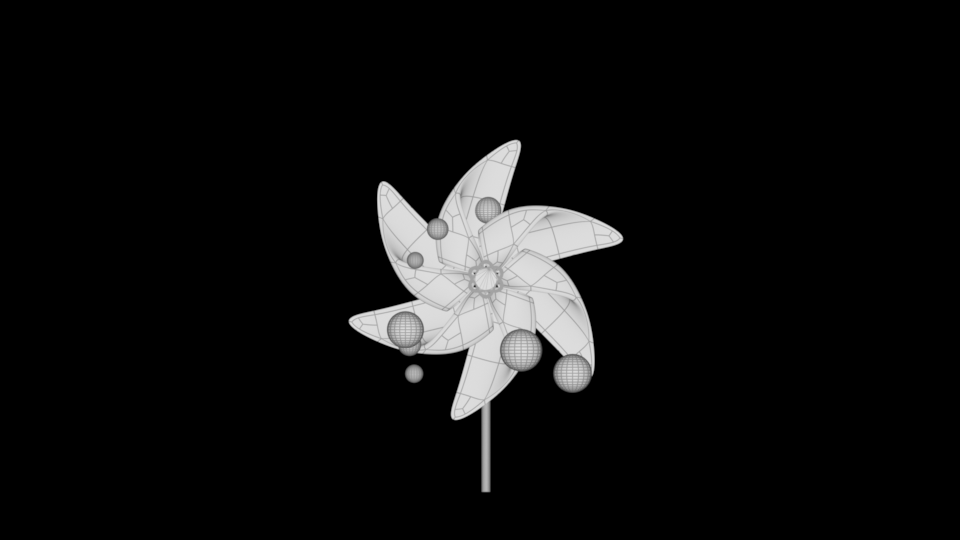
Mel/Python Scripting: Windmills
This project displays the results of using MEL to procedurally create 3D objects distributed in space to form an interesting 3D composition. The gradient color of windmills is developed through the use of OSL shading techniques. In addition, I've also created a custom UI using QtDesigner and Python to generate the matrix procedurally in Maya.
Final Renders


References
- style images obtained from internet -


Script Development
Most of the geometries in the scene are generated through coding. I first wrote the script in Mel, and later then I developed another version in Python for the future purpose of creating a graphic user interface. Click on the buttons below to view Mel and Python scripts for each geometry.
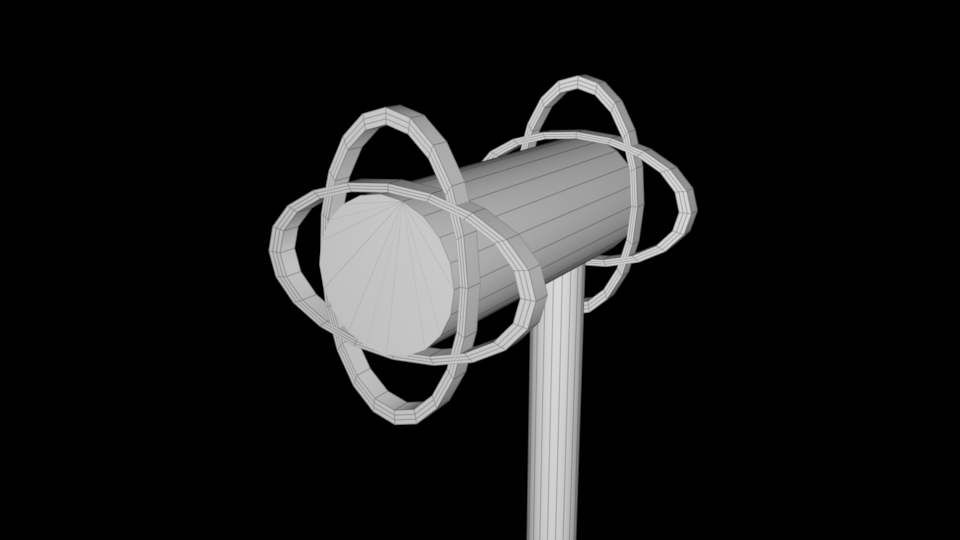
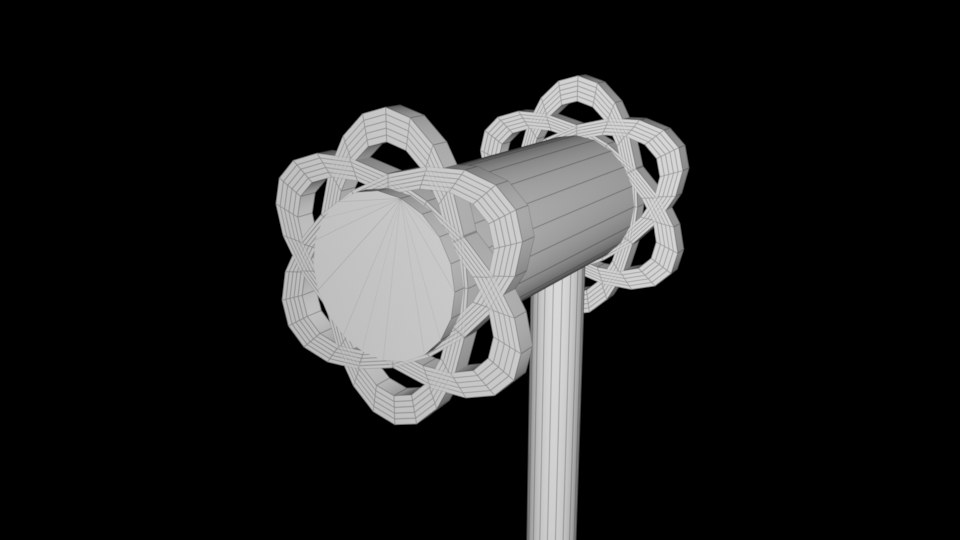
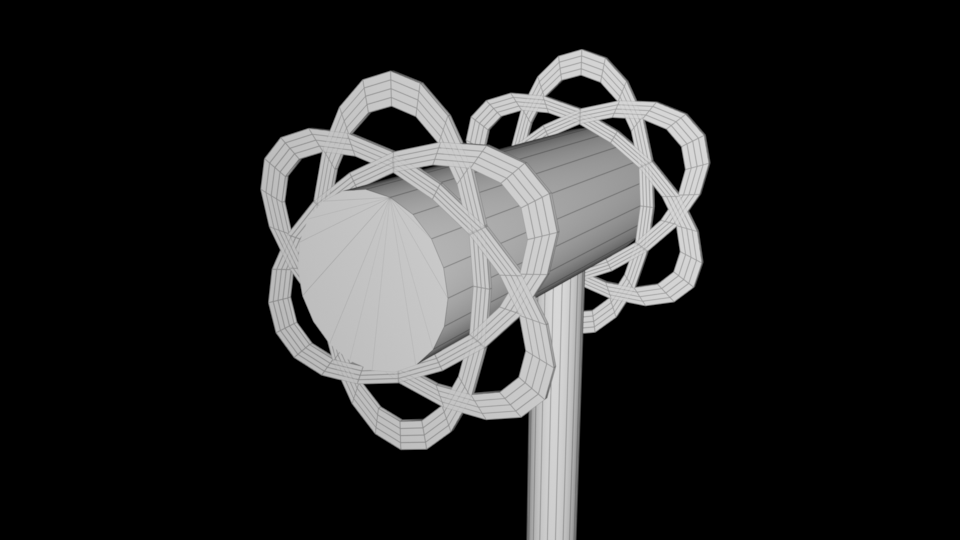
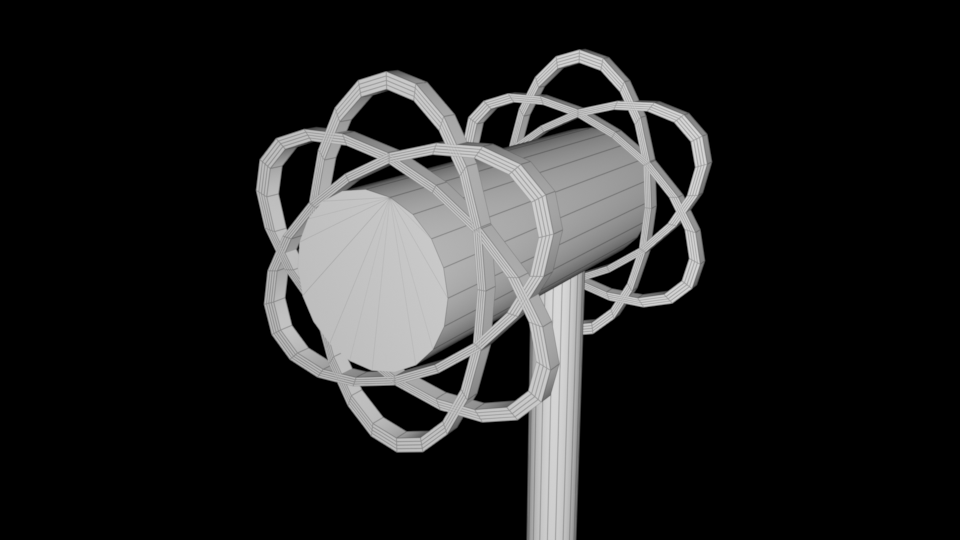
A. Windmill Blade

B. Windmill Handle


OSL Shading
The gradient color of the windmill blade is developed in OSL and adjustable in Hypershade.

shader
SEM_Gradient(
float z_min = -5.0,
float z_max = 5.0,
color c1 = color(1,0,0),
color c2 = color(1,1,0),
color c3 = color(1,0,1),
string spacename = "world",
output color resultRGB = 0)
{
point p = transform(spacename, P);
color colors[6] = {c1,c1,c2,c3,c3};
float blend = smoothstep(z_min, z_max, p[2]);
resultRGB = spline("catmull-rom", blend, colors);
}
User Interface Development
A custom user interface was implemented using Python and QtDesigner. The users can utilize the interface to create multiple customized objects and form a scene in just one procedure and one single click. Below is a quick demo showing how the parameters work and their effects.


Here's the python code used to create the UI for the script.
Then I used QTDesigner to design the look of the UI. The design process itself is pretty straightforward. I labeled every exposed parameter from the script, and create a spinbox and slider to accompany the attribute. I also added a preview image just to show how the outcome of the scripts looks like.

Finally, here are two renders made with the Windmill Creator UI.

